Travel Guides Outdoor Adventures Hiking
Leslie Veliz
Hiking is good for the body and soul. But this tranquil moment in nature can swiftly be interrupted by an injury, such as a blister. Even if they are small, blisters can be excruciating, especially if you have a long way to go until you reach your destination. With exposure to sweat and constant friction, hikers are incredibly susceptible to developing blisters. With this in mind, one simple step to prepare for a long-distance hike is using duct tape to ensure they don’t form on your feet. That’s right: This household item is, in fact, ideal to have in a DIY emergency first aid kit.
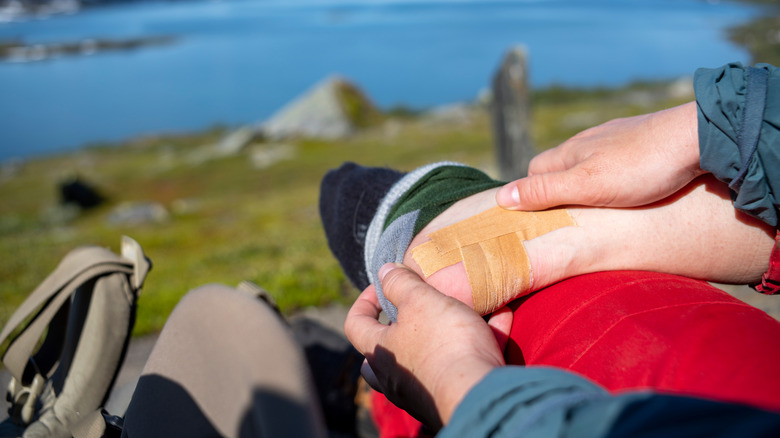
Before you head out, or if you’re already hiking and feel pain, take out your duct tape. Make sure your feet are clean and dry before you place the tape on your skin. When you’re ready, duct tape anywhere you usually get blisters or where you feel a blister forming, including the heel, soles, or ball of the foot. This will reduce friction, which means no blisters.
To prevent cutting off your circulation, Fixing Your Feet recommends not wrapping duct tape around your toes or foot. Moreover, if you have scissors handy, cut the edges of the tape so it doesn’t stick on any hair or your sock. You can also use duct tape on an existing blister.
Here’s how to effectively treat a blister

Sebw/Shutterstock
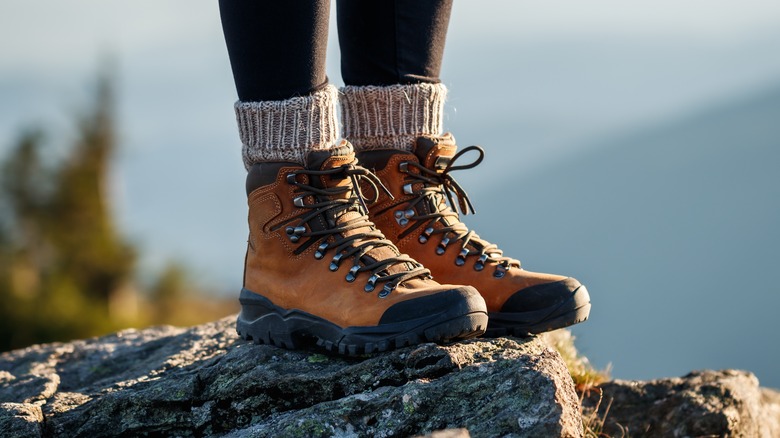
When it comes to blisters, prevention is vital. Besides wrapping your feet with duct tape, consider taking other steps, such as ensuring your feet stay dry with the right socks and that your hiking boots are the right fit for you. If your boots are new, you will likely get blisters if you haven’t used them before. Your best bet would be to break them in before your hike. In addition, tight laces mean less friction and a lower chance of a blister emerging.
However, if blisters do develop on your feet while on the trail, proper treatment is needed, and you will have to pop the blister. Keep in mind that you’ll need a tool to pop the blister, moleskin padding, and of course, duct tape. First, sterilize the blister and whatever you intend to pop the blister with. Once it’s popped, use the moleskin to create a donut pad. In other words, make a hole in the molefoam so that it surrounds the area but allows your blister to breathe. From there, use duct tape to tape the skin to prevent further friction.
It should heal quickly, but if you notice the area gets inflamed or infected, seek medical attention. That said, some experts advise against using duct tape for blisters, noting that it was not created for medicinal use, per Blister Help. If you are wary of duct tape, you can use an alternative, like sports tape.

